Transforming a Guest Bedroom: Reviving Vintage Furniture
R.J. Baker
2/11/20252 min read
A Vintage Touch: My Great Grandmother's Furniture
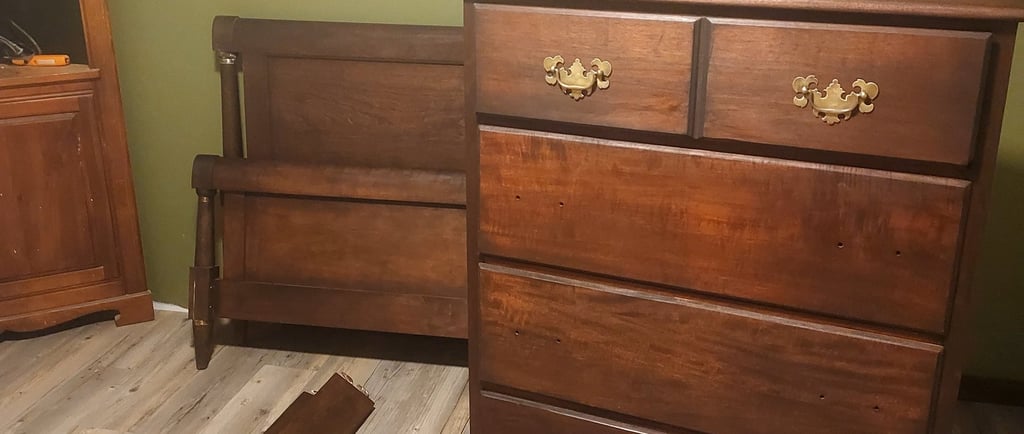
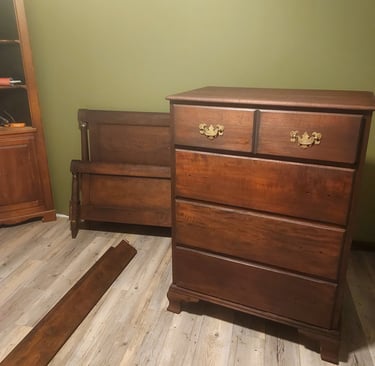
Welcome back to our guest bedroom transformation series! In part two, we're diving into a project that has been close to my heart, involving my great grandmother’s furniture likely from the 1950s era. I believe that every piece of furniture carries a story, and these vintage pieces are no exception. The bed frame was made of red oak, while the nightstand and dresser were crafted from beautiful mahogany. While the furniture was still in good shape, it was in dire need of a little TLC.
Reviving with Refinishing: The Process
So, what did we do? We rolled up our sleeves and got to work! The first step was to strip the old finish off all the pieces. This part was certainly messy, but it was necessary. After stripping them down, I moved on to sanding. Let me tell you, there was a lot of elbow grease involved! Sanding isn't the most glamorous of tasks, but it's vital for a smooth finish. Once everything was prepped, we jumped into the fun part—re-staining!
Multile buckets of water and rags
Finding the Perfect Color Match
Choosing the right stain can be a bit daunting, but we were determined to achieve a seamless blend among the varied woods. After numerous tests, we decided on a stunning red mahogany stain. This color not only breathed new life into the red oak bed frame but also beautifully complemented the mahogany nightstand and dresser. And let me tell you, the match with the pine 1x3 door trim exceeded all our expectations. The final result was striking, with each piece harmonizing perfectly despite the differences in wood type.
While we ended up skipping the corner cabinets—thankfully they were in decent shape for now—we took pride in the transformation of the main furnishings. It’s amazing how a little hard work and a dash of creativity can significantly elevate the charm of a guest bedroom.
Brass Handles Can Be Restored - Don't Give Up!
To restore the luster of the original brass handles on our furniture, we employed a simple yet effective remedy combining baking soda and lemon juice. This mixture worked wonders in softening the tarnish, making the handles look more presentable. After letting them dry, we applied Brasso, a polishing agent my husband fondly recommended from his days in the U.S. Marine Corps, where it was used to shine his buckles. The transformation was remarkable, showcasing how sometimes the old items in our home can hold the most charm and character. So, for those considering tossing out vintage pieces, remember that with a bit of effort, they can shine like new and continue to tell their unique stories.
We are beyond pleased with the outcome of this project! The combination of such rich materials and the history they carry really adds a warm, inviting atmosphere to the room. Stay tuned for the next installment of our guest bedroom makeover, where we’ll tackle decorating and adding those finishing touches. If you’re inspired by our journey, remember: with a little patience and effort, you can transform any old piece of furniture into a stunning statement for your home!